When I was at Maker Faire Berlin earlier this year, I’d had the chance to make myself a sterling silver ring at Dan Uttien’s stall. That, and the fact that Daan was visiting Sheffield to hold another workshop, inspired me to make a necklace as a Christmas present for my wife.
It wasn’t actually the first time I’d made a ring. About six years ago, my wife and I made our own white gold wedding rings at the Mid Cornwall School of Jewellery, which was an unforgettable experience.
Here’s the story of how I made the necklace.
Ring-making in Berlin
I loved the whole experience at Daan’s stall at Maker Faire Berlin. Starting with a length of square silver, you bent it round so that the ends met, then soldered the ends together. Then came the smithing - the process of hammering the ring on a mandrel - first to get it perfectly round, and then shaping it, either rounding it off into a D-shape or keeping it flat and widening it.
Daan, and his partner Emmy, encourage you to experiment with the way the ring looks - which shape you’d like, whether you’d like it with a hammered finish, textured with cross-hatches, perfectly smooth, blackened with liver of sulphur, etc.
I decided to go for a simple, flat ring with a hand-hammered, blackened finish. The whole process took about 2 or 3 hours and I was delighted with the end result. I’m sure I’ll make another next year at Maker Faire Berlin…
Designing and making the necklace
Daan and Emmy visited Sheffield a couple of weeks back and held a ring-making workshop on the Saturday. As my wife was working, I thought it would be the ideal opportunity to make her a unique Christmas present. I took the train through to Sheffield first thing in the morning, with my two year old daughter in tow, and arrived at Persistence Works - a lovely studio and gallery space - just before 10am.
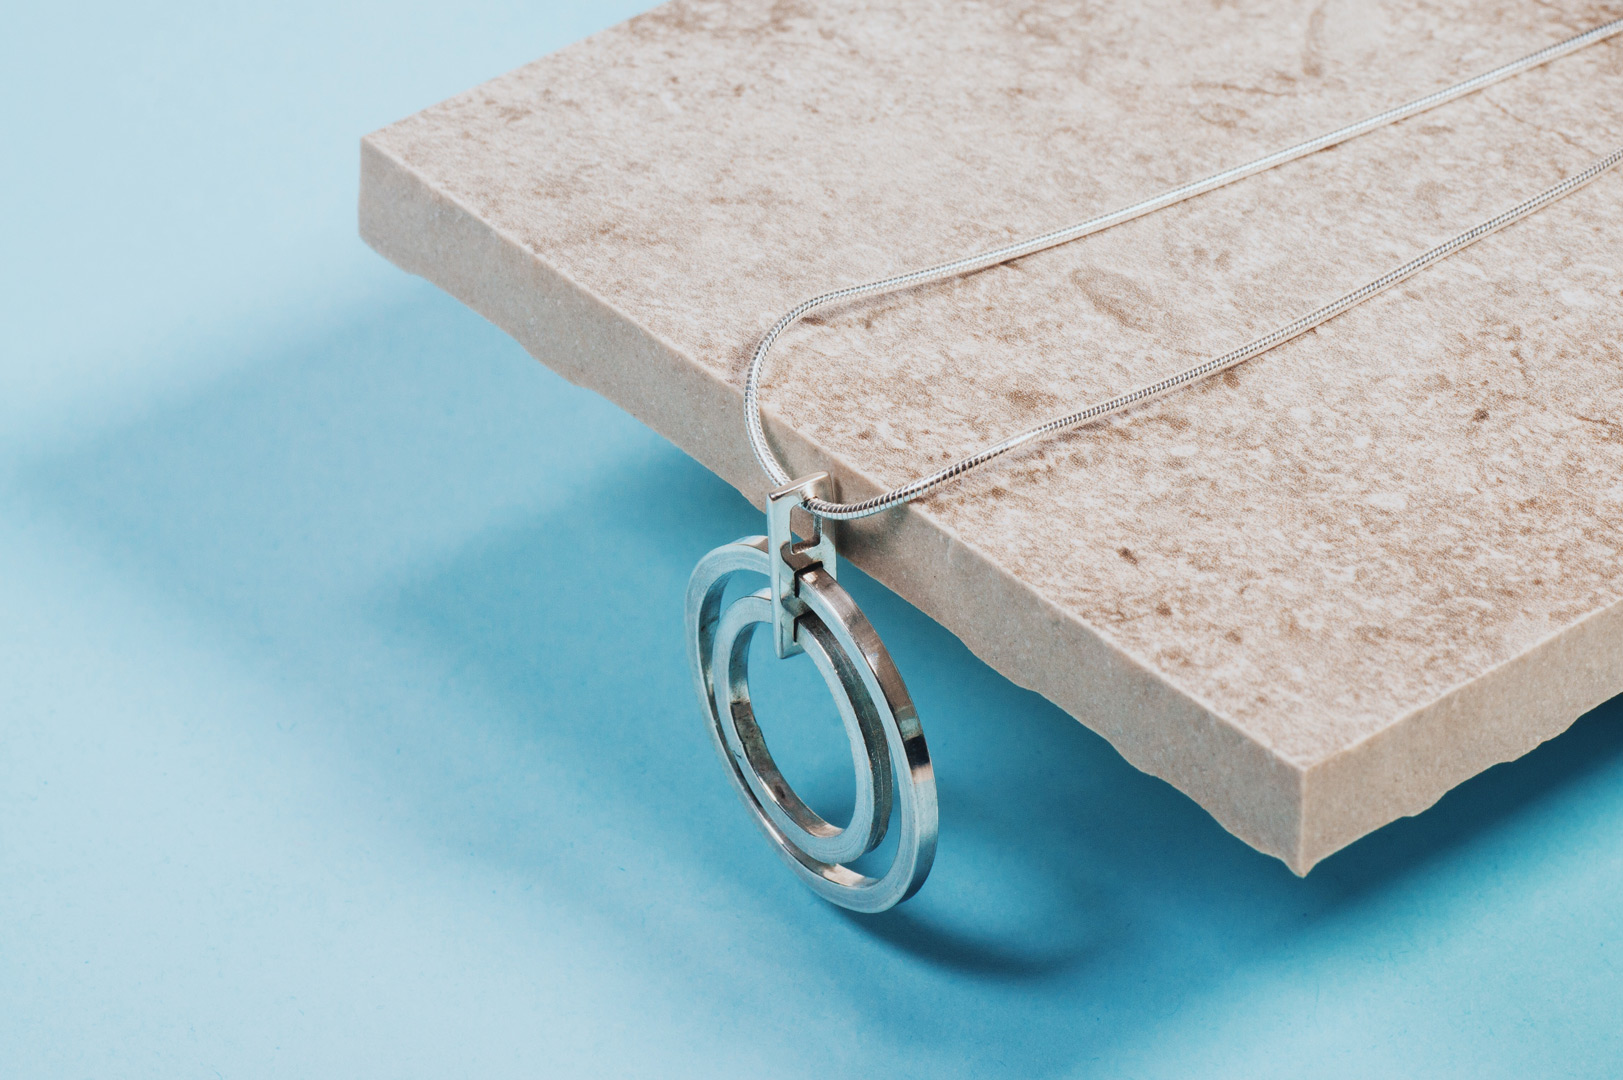
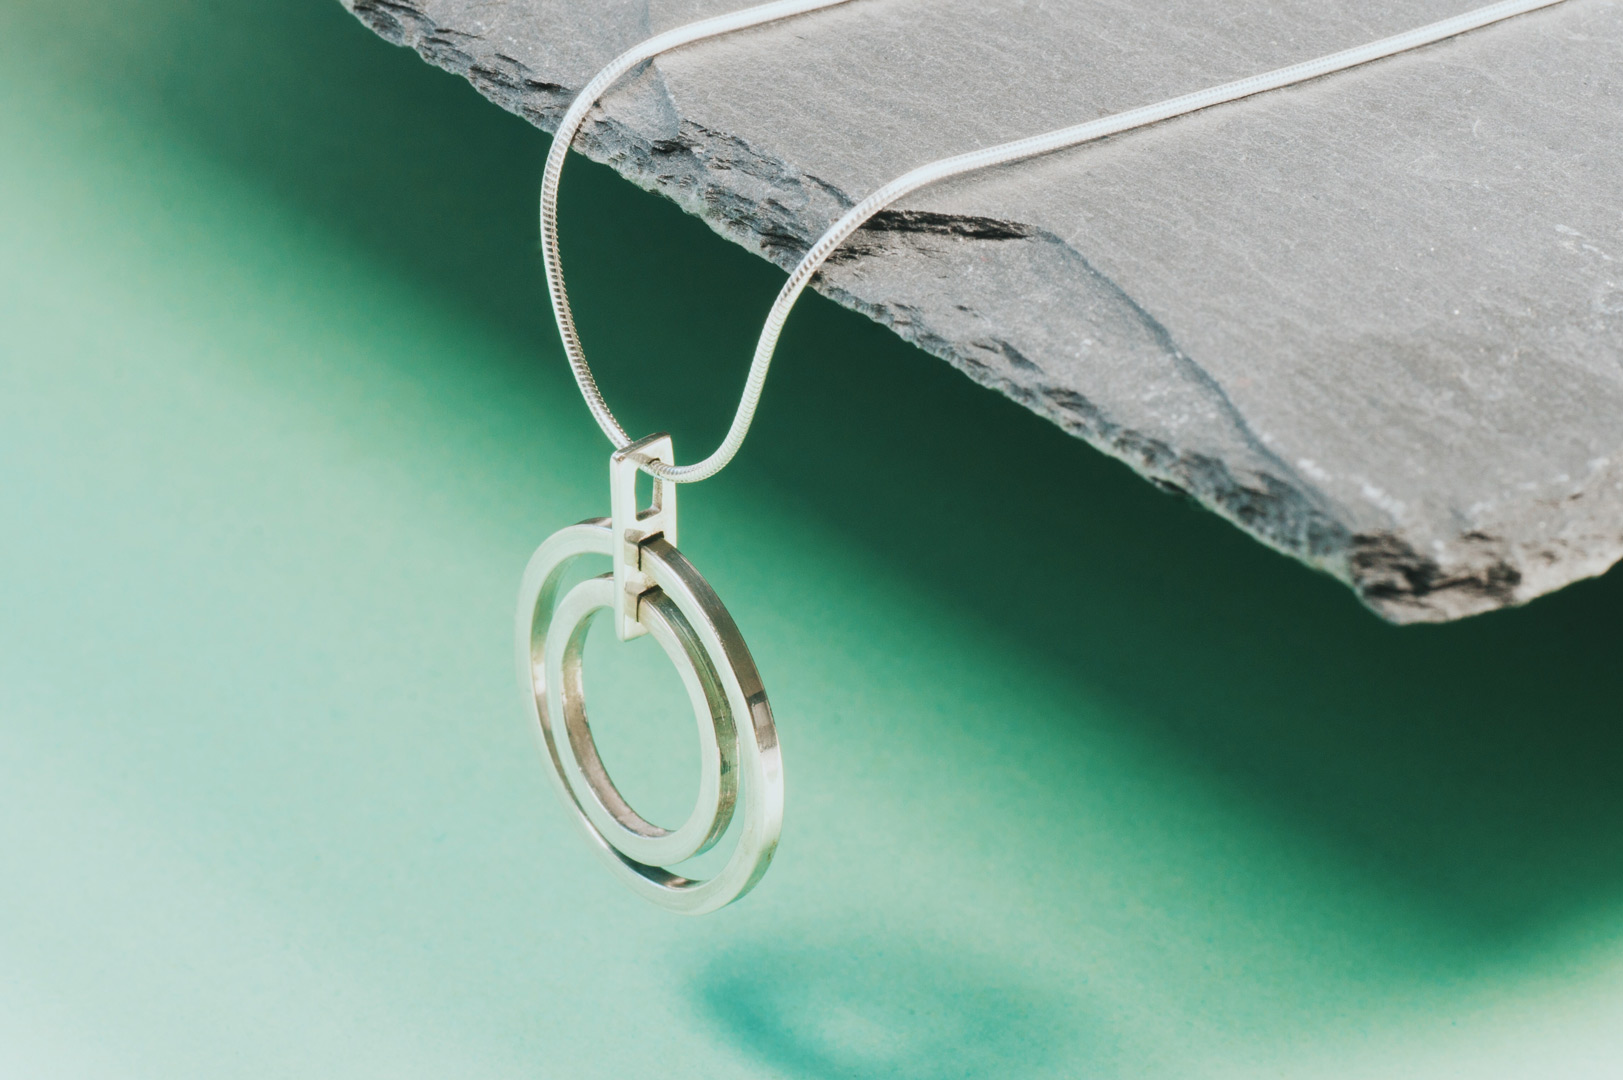
I’d decided that the necklace was going to be two concentric rings held in place by a thin piece that would also thread onto the chain. I sketched out the design roughly on paper, and then in detail in Inkscape, then set to work.
First, I made the two silver rings from lengths of square 2mm sterling silver, bending them round, soldering the ends, and then used a plastic mallet to beat them perfectly round on the mandrel, before finishing them on a polishing wheel.
Next, I used a piece of 1mm silver sheet to make the piece that would hold the rings in place. I sawed it roughly to size, then filed and sanded the edges to get them perfectly square. Using a nifty little hole-punch type thing, I punched through three holes that would hold the rings and chain in place, and then used the saw to square them off.
To get the rings in place, I had to open them both up again with the saw. The smaller of the two rings turned out to be too large, so I had to chop out a piece to get it to exactly the correct size. Once they were both in place, it was just a matter of soldering them shut again and then carefully filing off the excess solder. A quick polish, and the pendant was ready!
I picked up a thin sterling silver snake chain from Kernowcraft that I think really goes well with it.
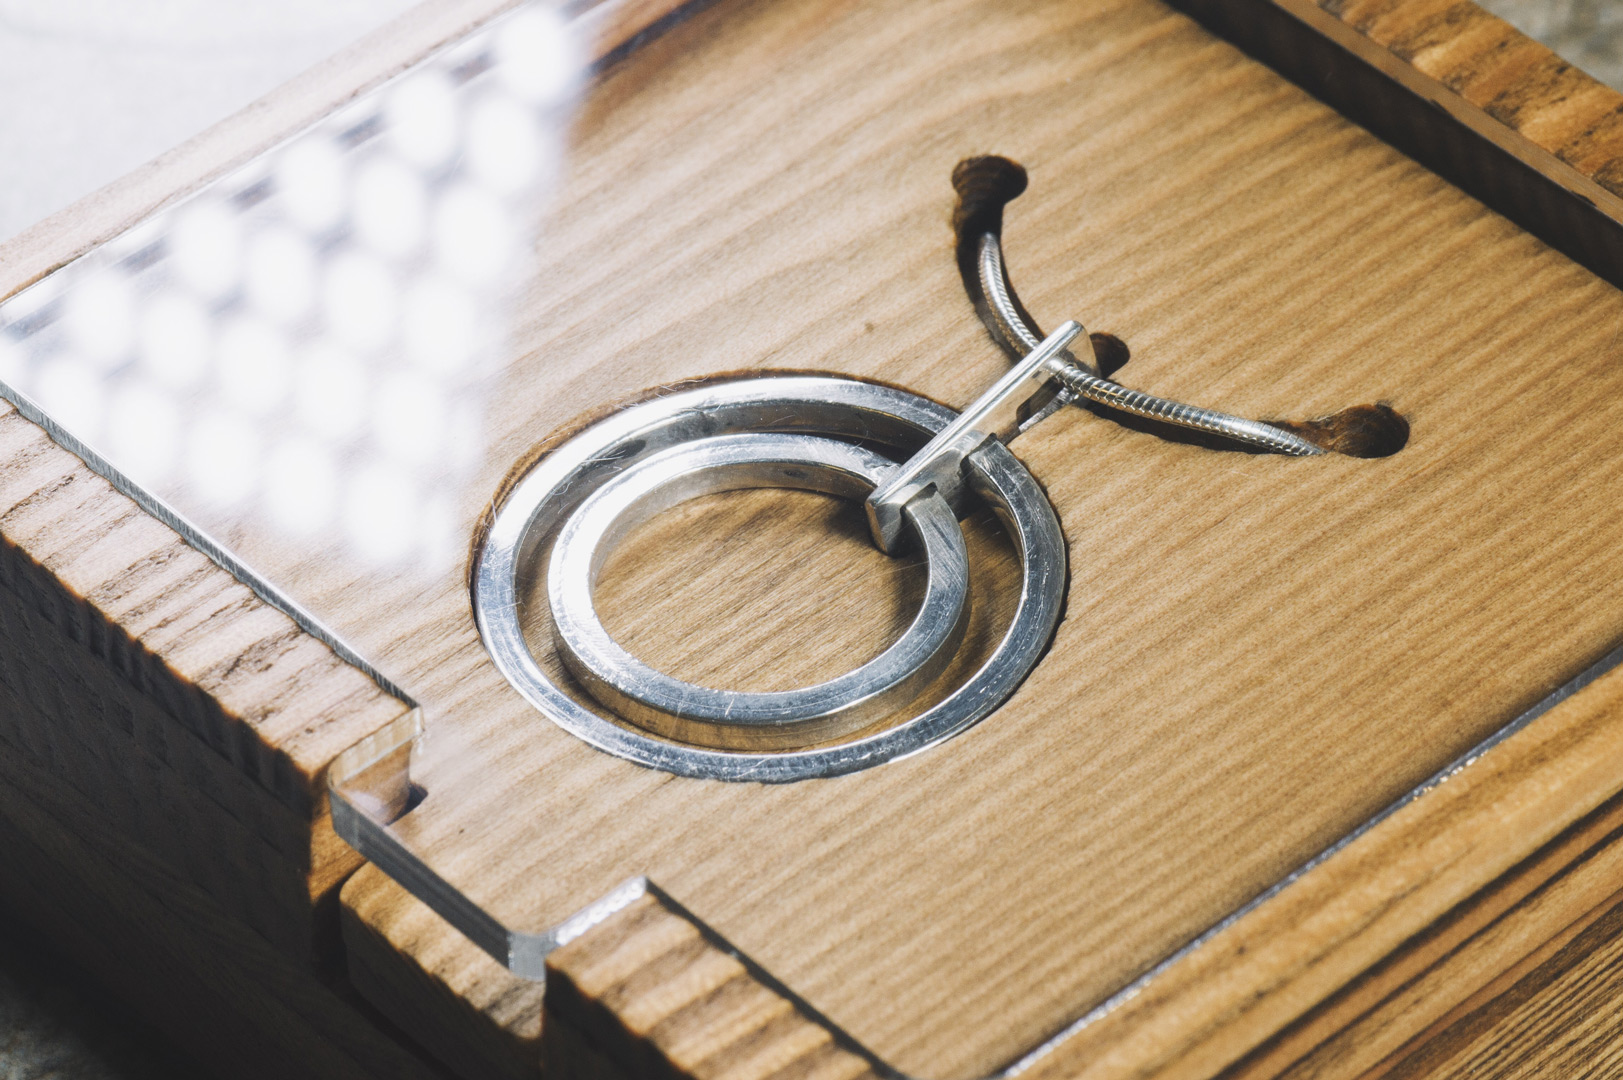
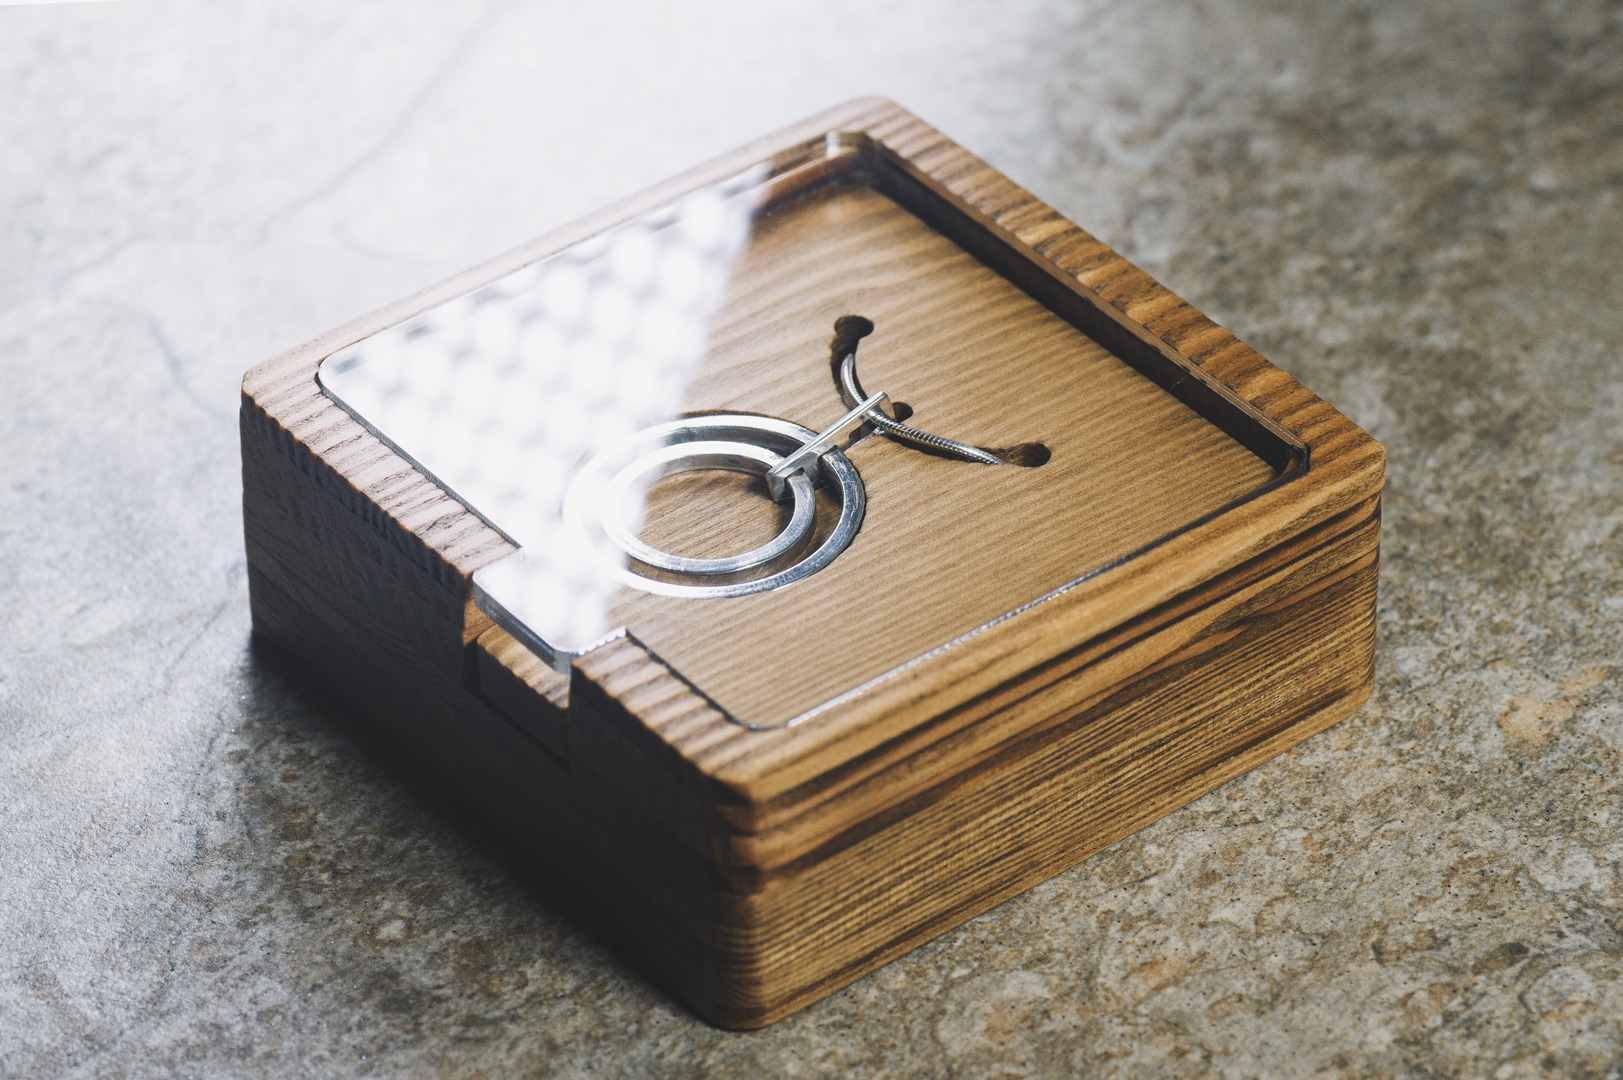
Laser-cutting a box
I’d decided that I wanted to laser-cut a wooden box to hold the necklace from some scraps of 3mm spruce that we had in the Pimoroni warehouse. In much the same way we make our layered Pibow cases, I would cut the box in layers and then laminate them together by gluing them with wood glue. The pendant would sit in a separate tray with a recess to hold it. Then there would be a clear Perspex lid on the very top.
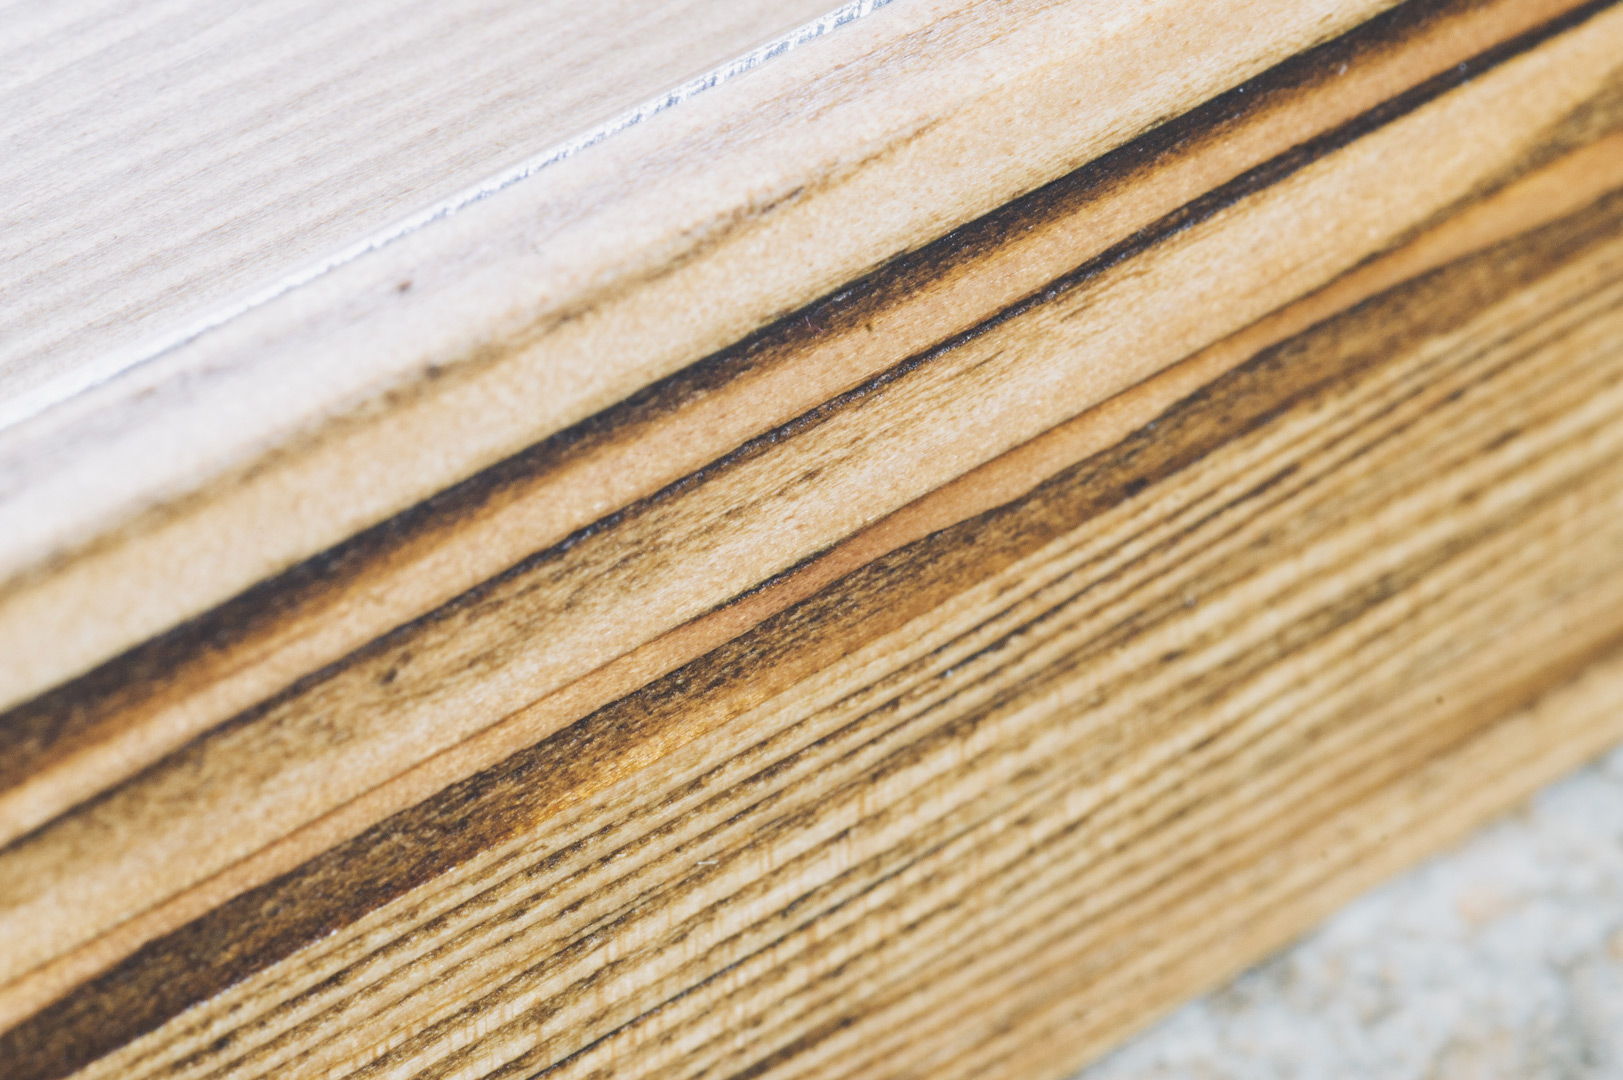
I glued and clamped the layers together overnight, and then sanded the slightly wonky sides smooth and sanded off any excess wood glue that’d seeped out from between the layers, giving a final sand with some fine grit sandpaper to prepare the wood for waxing.
To give it a really premium finish, I laser cut a scrap of soft leather that I’d got on eBay for a few pounds to glue inside the base of the base, where the chain would sit below the tray.
Finally, I gave the box a couple of coats of dark oak Briwax, which really brought out the natural grain of the wood beautifully.
I’m really pleased with the way the whole thing came out. It’s probably the most work I’ve ever put into a present, but I hope it’ll be something that Hazel will treasure always. It’s inspired me to really get into jewellery making, and I hope to start building up some kit in the new year.